Showing posts with label DIY. Show all posts

Thursday, May 20, 2021

Play House Makeover: Fixer Upper Mini Edition

Here's a bit of a throw back post!

A few years ago, when my son was just about to turn 1, our neighbor dropped of a Little Tikes playhouse that his grandkids had outgrown.


So... Like I do with just about anything, I decided to give it a little makeover!


I scrubbed it up and used Rustoleum spray paint to paint the door, shutters, and roof.

I also spray painted an old door mat dark blue and put that out front of the door.


Just wasn't feeling the bright orange. Thankfully a little spray paint does the trick.


On the back side I spray painted the orange "fire place" with a dark brown textured spray paint to make it feel a bit more like brick.


I found the cute little fencing pieces at Dollar Tree.


And of course I had to add some "decor" with a garage sale watering can and side-of-the-road free shepherd's hook. The tiny hanging basket is also from Dollar Tree.


And here's my little love enjoying it! 

When he was this little he mostly just wanted to open and close the door.
Now he and his sister use it to "cook". It also makes a great place to store balls and other outdoor toys.


Hope you're having a great spring and getting lots of little outdoor projects done!


Thanks for stopping by.


Blessings,
Olivia


Wednesday, July 3, 2019

1963 Friendship Vacationaire Vintage Camper "Middle Tour"

As promised, the "Middle Tour"!
 Because it will most likely be years before the "After Tour" is ready, and I couldn't just leave ya'll hanging with only the super scary "Before Tour". 

If you missed the before tour, click HERE. 

Not everyone can see hidden potential, but we can, and we knew it could {potentially} be charming!

So, here is our 1963 Friendship Vacationaire, so far.


My husband was able to strip the rest of the paint off the front side only.
 It's very hard to get off because it's so thin and almost gone.
. Because there isn't a lot of actual paint left, so it took a lot of elbow grease. 


We hope to eventually get it a paint job. The originals were all white, so we will do that but also maybe add some sort of teal or light blue stripe at the bottom. 


Light teal is a common color around the camper. I spray painted the screen door with it.

"Take my picture, mom!" 


And now, what you all truly care about - the inside!


I found this "happy campers" sign at hobby lobby this year and spray painted it with Rustoleum's "Blushed" chalk paint to match some other soft pinks through out the camper.


I painted all of the cabinets with Annie Sloan chalk paint in "Old White".
The copper light was really fun to polish up. 
It was so tarnished to begin with, that I didn't even know it was copper!


These curtains were my project for this year. They are the first thing I've sewn fully on my own, (without my mom) and I did a really horrible job! Not the best at even straight lines yet, but I'm still proud I did it on my own, and they are "good enough" to get the job done.


We added a full size memory foam mattress, which is very comfy. 
I found the little teal lamp shade next to the bed for 9 cents at Hobby Lobby. Yes, 9 cents!

I know the ceilings look a little rough. There was some water damage from moisture being trapped inside (not from it coming through the roof - this thing seals up tight!), so replacing the paneling is on the list of future projects.


This year we also added the curtain rod (spray painted in the same color as the sign) and sheer curtain.
 I added a small section of our old eyelet bed skirt by just cutting it to size and stapling it to the inside of the wood. It adds a nice softness plus hides the laundry basket and some storage totes.


The little shelves at the sides of the table and trim around the door were painted with Annie Sloan's "Antoinette" chalk paint, which is a very similar shade to the pink Rustoleum chalk spray paint.


*Side Note* I didn't get a very good close up picture of the table top or counter top, but it has little flecks of light pink, light teal, and light yellow, which is where I pulled the color scheme from. Although I am still in need of more light yellow.
 Maybe I can recover the cushions with yellow fabric!? 
I'm sure you've noticed by now that they need it. :)


My mom sewed all new curtains for the camper as a birthday present to me. Light teal with light peachy pink floral, so they fit the color scheme perfectly. 
On the bed side they have some pretty lace at the bottom too.


I've had this little decorative metal chandelier for years, and it is a nice shabby chic touch that helps put the GLAM in "glamper". ;) 

I've said from the start that this would be a Shabby Chic Glamper. 
And I've got a good husband that has never put up a fuss. 
Happy camper wife, happy camper life.


And now, a few practical pictures -  I personally always like seeing a bit of that.

To help you get a real feel for the camper, inside of the tall cabinet with the mirror on it lives our port-a-potty that we have yet to use. It was brand new and came with the camper. We may get some use out of it eventually. Also, the water container is stored in here.
 When we are camping it goes out on the end of the picnic table. 


I also painted the inside of the "kitchen" cabinets with Antoinette and added some mini cork boards to keep different camping notes organized. 

All of our camping dishes (more off to the left) are either stainless steel or blue enamelware. 

The little kitchen shelf and under cabinet lights were all painted with Annie Sloan's "Duck Egg Blue" chalk paint. 


I call this the "pantry" - little mason jars with flour, sugar, popcorn, dandy blend, etc. just to always have on hand if need be. 

Do you think that cabinet lining is original?! 60's orange and yellow. And I'm sure i'll leave it, because our smokey cast iron skillets get placed on top of it.

I found the teal floral knob at Hobby Lobby... or course. Best knob isle eva! 

Also, one of our first "projects" in the camper was to simply move the paper towel holder from up above to down in the cabinet. I like to keep as much ugly stuff hidden as possible.
 We hung enamel mugs up above where it used to be.


Behind the curtains I made used to be a big open hole. The stove was on top and I think possibly a refrigerator was underneath at one point? My husband put in shelves for our dry food storage. I just slide the teal bins out and fill them up before we head out. We always use our cooler and cook over the fire when camping, so we don't really need a fridge or stove.

* We do have a vintage Coleman camp stove in the storage under the table seats in case of rain or fire bans. 


If you are familiar with campers, then you probably can see how this little table area converts down into a bed. When we camp we usually have it set to a bed and the pack-and-play is on top for our son.


Speak of the little love...

He LOVES camping and the outdoors. He even had a camping themed birthday party this year.


The inside color of the door was a horrible muddy brown, so I spray painted the bottom half with chalk board paint  - for kids to color on, but it's filled with "camp rules" right now.

My plan for the top half is to slowly cover it in stickers until all of the ugly brown disappears. 


My garage sale score bistro set was very handy for our first camping trip this summer, and I'll probably keep taking it with us - it adds a nice pop of color out front. We also have a large teal rug we put outside when we are camping.


I plan to eventually spray paint the step a dark teal, and there are lots of other little projects along the way. But it's usable, cozy, and cute. We love it! 


Thanks for taking the tour! 

Have a happy camping season!
~Olivia


Saturday, April 20, 2019

Happy Easter!


Happy Easter!
He is Risen! What wonderful news and reason to celebrate...
Jesus is the reason, not the cute bunnies and pretty colored eggs - they are fun to decorate with, but I hope the real reason you're celebrating is that death has been defeated! Our God has robbed the grave. Hell has no victory. Wooohoo! Best news ever. :) 


I recently got an antique buffet (for only $41 at an online auction) and it is the perfect space to decorate because my toddler can't reach the top. ;)

Here is a little Easter vignette I did with a few things I had laying around plus some help from Dollar Tree. 


All of the little bunnies are from different thrift stores. My mom chalk painted this one for me.
I also got a couple boxes of faux eggs at a garage sale for a $2.


I may have stolen my toddler's mini watering can! ;) 
The moss basket was what my flower girl used at my wedding.


I spent about $12 at Dollar Tree and got the moss rocks, tiny terracotta pots, assorted faux greenery, and the grass in the basket. 


The family Bible is turned to the happy resurrection story.
I did want to make a "He is Risen" or "He Lives" banner to hang on the mirror, but I guess that will have to wait until next year. 


I hope you all have a wonderful Easter Sunday and happy Spring season!


Blessings,
Olivia


Thursday, February 14, 2019

Valentine’s Day 2019

Happy Valentine's Day!

Here is a little look at my touches of decor...


I made these Xs and Os at a mom's craft time, and they are the perfect statement for the console table. I may have gotten a little carried away with the glitter though, so they are kind of messy.

I got the little heart at a shop I used to work at... 75% after Valentine's Day sale, of course. 


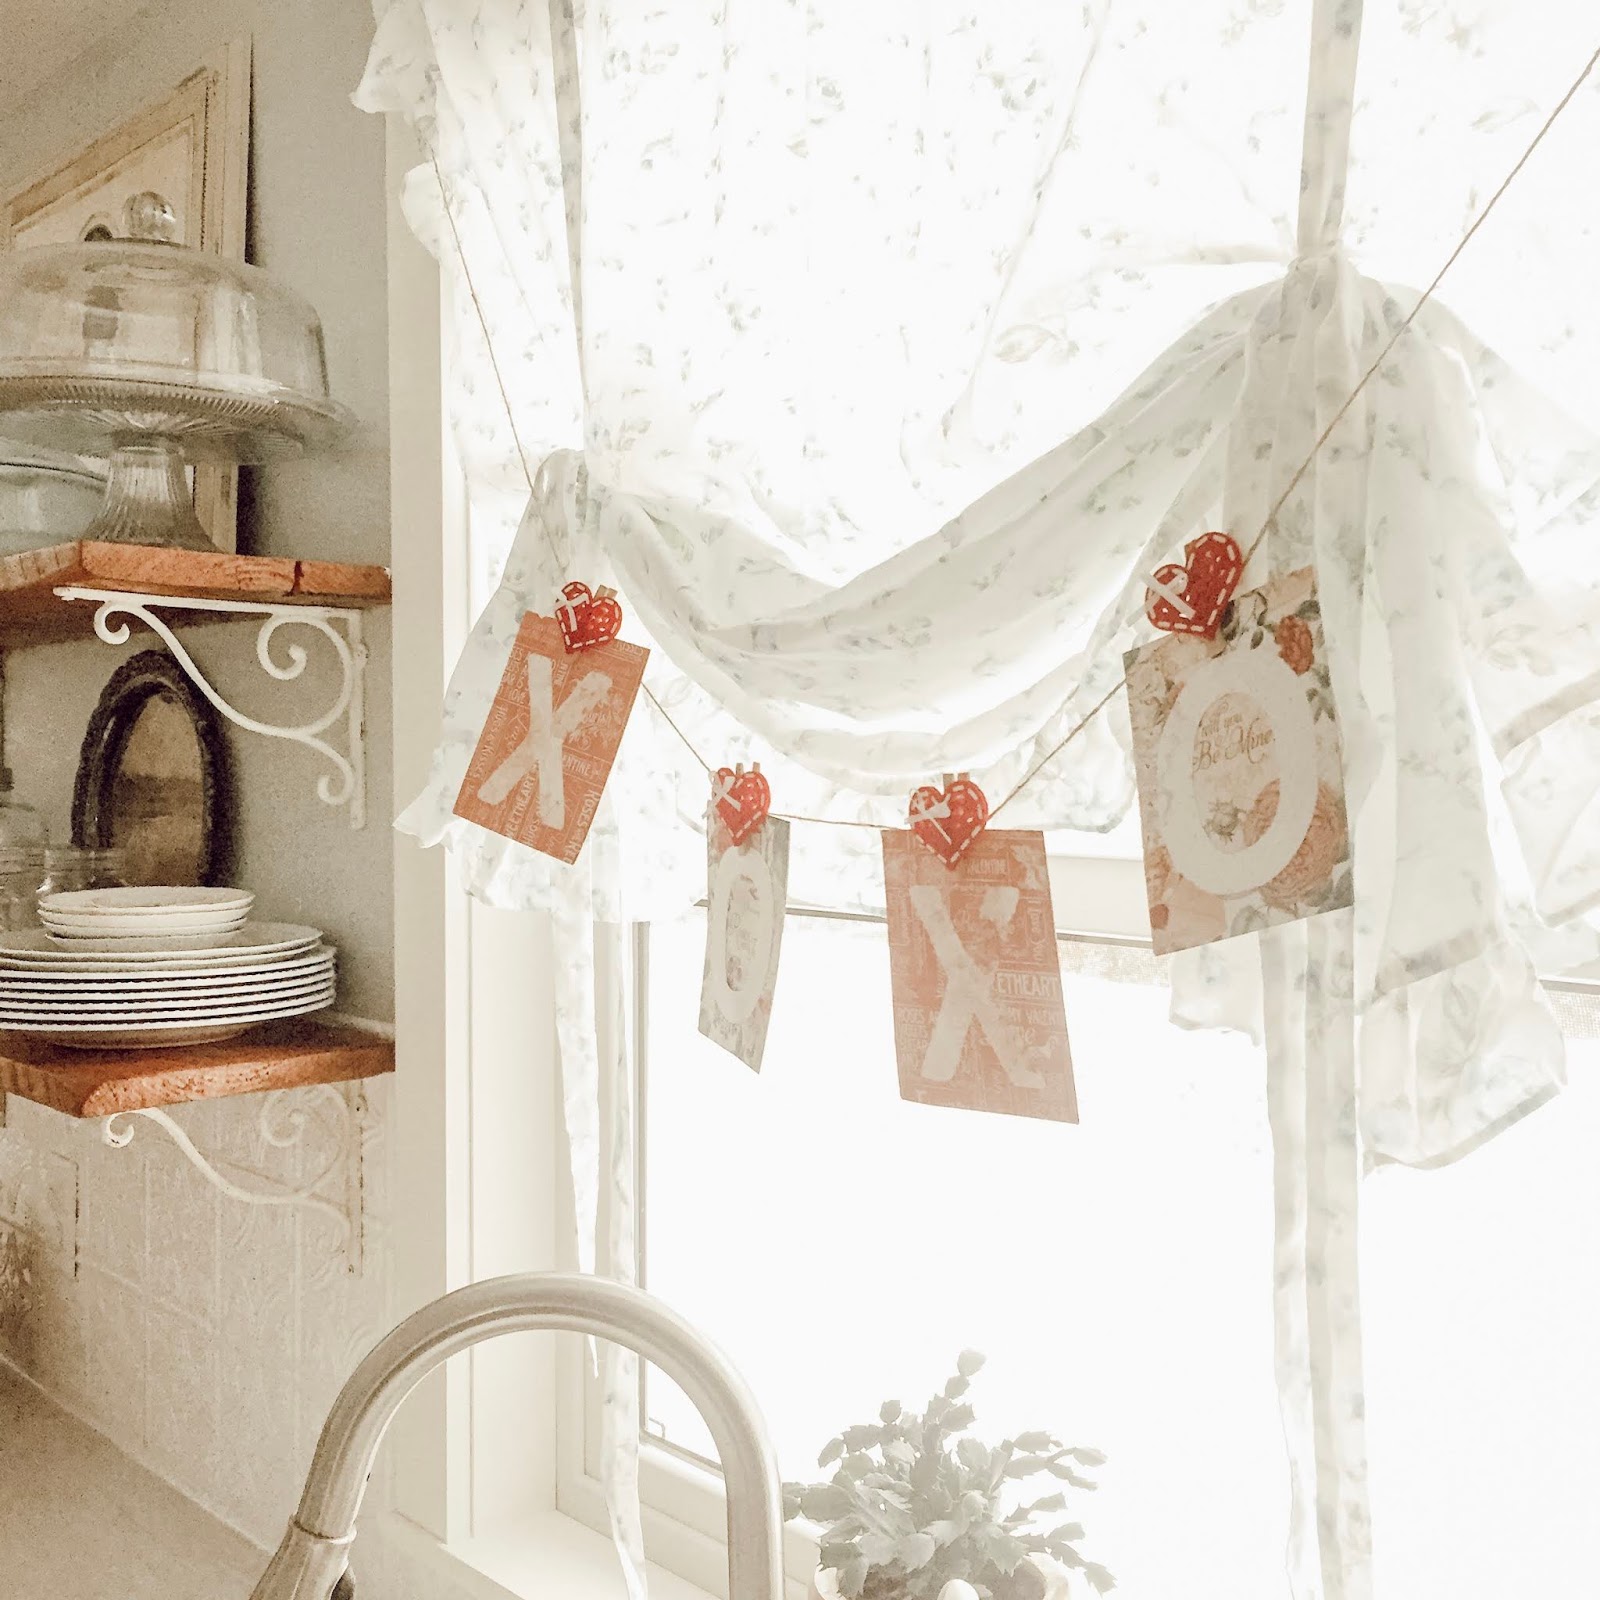
This set of Xs and Os I made a couple years ago using some card board, hobby lobby craft paper, and little heart clothes pins from World Market.


Our treat for this year is heart shaped chocolate covered strawberries! Yum.

I found the little pink heart plates at a church garage sale and stuck them in my holiday tote. 
I forgot about them until I opened my tote, and then realized they would be the perfect little plates to give my family their strawberries on. 


So, I guess the lesson is... always make sure you scoop up a festive deal when you come across it! 
Well, as long as it doesn't take up too much room in storage. 
Heart plates for the win.


Hope you all have a LOVEly Valentine's day!
Remember, anyone can celebrate love...it's a holiday for singles too! ;) 


Blessings,
Olivia


Sharing at: Feathered Nest Friday

Sunday, December 16, 2018

Hot Chocolate Bar

I hosted a "mom's night" a couple weeks ago, and a hot chocolate bar just seemed like a must have! 
Warning: not the best quality pictures, as I kind of rushed to take them before my guests arrived.
Little blurry, but you'll get the idea.


Hosting is such a great opportunity to get all you "pretties" out and on display. 
My vintage Santa mugs were the star of this set up.
They were a Christmas present my sister had gotten me last Christmas.
She found them on Etsy, and they are very old - I was happy to have them be both (safely) useful and on display.


There are so many great ideas for Hot Chocolate Bars on Pinterest and Instagram. 
I had a lot of fun "researching" before the party to come up with the perfect toppings and display area.


TOPPINGS


* Mini Chocolate Chips

* Mini Marshmallows 

*Crushed Peppermint

*Andes Creme De Menthe Baking Chips

*Caramel Sauce

*Reddi Whip

*Bailey's 


** I also had some mini biscotti cookies, lady fingers, and shortbread cookies. Off to the side my vintage Santa held candy canes and his sleigh held chocolate hazelnut wafers. 

The hot chocolate was not from a recipe. I just threw together some chocolate milk, whipping cream, Swiss Miss, cinnamon, cacao, and a little pink Himalayan salt.  It was yummy!


My entryway console table made the perfect spot. 
I've left this little display set up as part of my Christmas decor for the year.


I like having all of my vintage Santa items in one place. I think it has a bigger impact that way. The mugs, runner, lights, and little figurines have all been gifted or collected over that last couple years. Aside from the mugs being from Etsy, everything else was from either the thrift store or a garage sale.  


The "Hot Chocolate Bar" sign was something I created in Microsoft Word with the help of a free downloadable font for "chocolate".

The stainless steel Coleman warmer worked perfectly for the hot chocolate.


My sweet little mugs. 
They have a lot of "crazing" and the paint is in very good condition for how old they are. 
ALSO, didn't realize til halfway through the party that I had forgotten to put the other two spoons in the mugs! Whoops. 


I love having a few different heights in displays, but it is particularly helping in food related displays because you can squish more food or needed items into one spot.


If I was more tech savvy I'd link this sign below as a printable for anyone not wanting to create their own. But I'm just not. Sorry.
I could email it to you?
But also it's fun to be a little creative and make your own. :)


Overall I love how this little bar turned out! Minus the one santa light that wouldn't cooperate. 
There always has to be something, right?

It was a very fun mom's night "in" just sharing a meal and some hot chocolate together. It is such a great time of year to get together and make the most of it getting dark out at 4:30 p.m. 

Plus, moms always need a little break and drinkable chocolate is just a good idea in general!


Thanks for stopping by!
A mini Christmas Home Tour is to come. 


Blessings,
Olivia